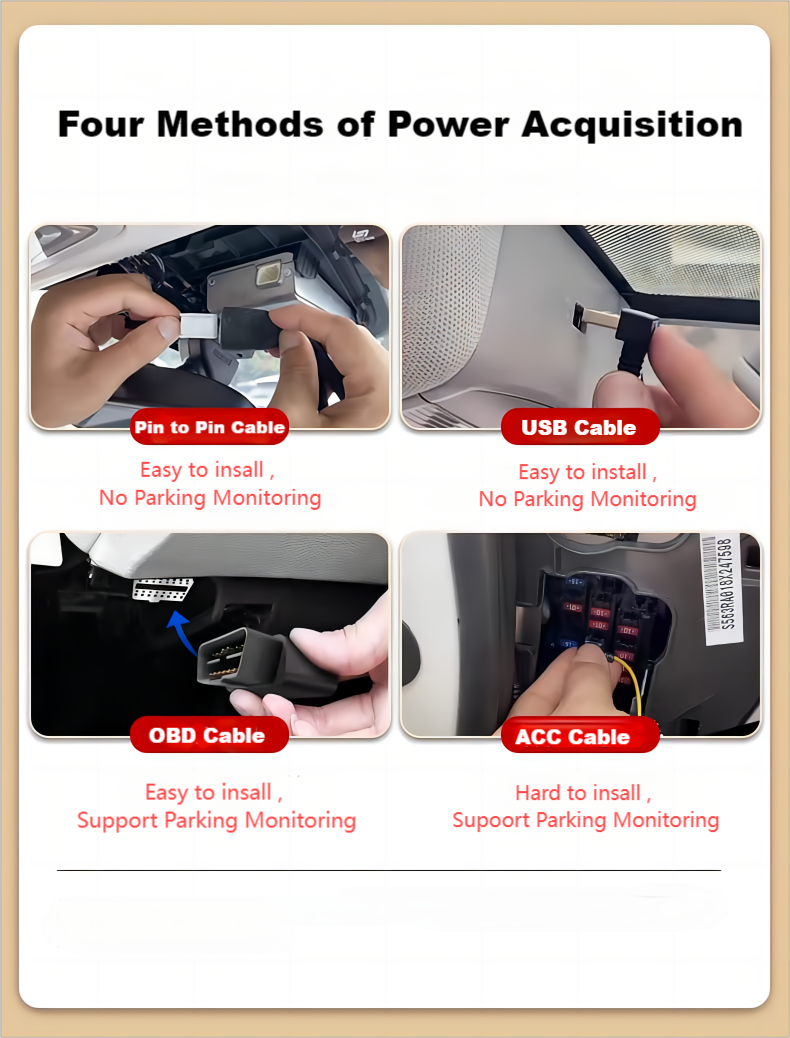
Overview: Using a dedicated power cable is one of the simplest methods to power your integrated dash cam.
Installation: Easy to install, typically involving plugging the cable into the car’s cigarette lighter socket.
Pros:
Cons:
Overview: Another simple method is using a USB cable connected to a USB port in your vehicle.
Installation: Similar to the dedicated power cable, this method is easy to set up by plugging into an available USB port.
Pros:
Cons:
Overview: Using the OBD (On-Board Diagnostics) port provides a moderate level of installation complexity but allows the dash cam to support parking monitoring.
Installation: Involves plugging the power adapter into the OBD port, usually found under the dashboard.
Pros:
Cons:
Overview: Connecting the dash cam to the car’s fuse box is the most complex method but offers the most comprehensive functionality, including parking monitoring.
Installation: This method requires wiring the dash cam directly to the car’s fuse box, which may necessitate professional installation.
Pros:
Cons:
Choosing the right power method for your integrated dash cam depends on your specific needs and technical expertise. For simple, quick installations, a dedicated power cable or USB cable might suffice. However, if you need advanced features like parking monitoring, opting for the OBD port or fuse box method will be more suitable, despite the increased installation complexity. Properly powering your dash cam ensures it operates effectively, providing peace of mind and enhanced security on the road.

